Usually when I begin working on a new design I spend days swatching and tweaking charts before I’m ready to cast on a sample… but sometimes I get impatient and decide to just wing it! The hat that’s on my needles is of the latter kind.
I’m working on a hat incorporating the stitch pattern from my Beanstalk Shawl, and I decided to cast on without doing my usual calculations and sketching it to scale. ‘It’s just a hat’, I thought, ‘so if the size or proportions are off I’ll just start again’. Well, I’m now on attempt number three, and I’ve concluded that winging it is not quicker, especially with my slow-ish knitting speed and 4ply yarn.

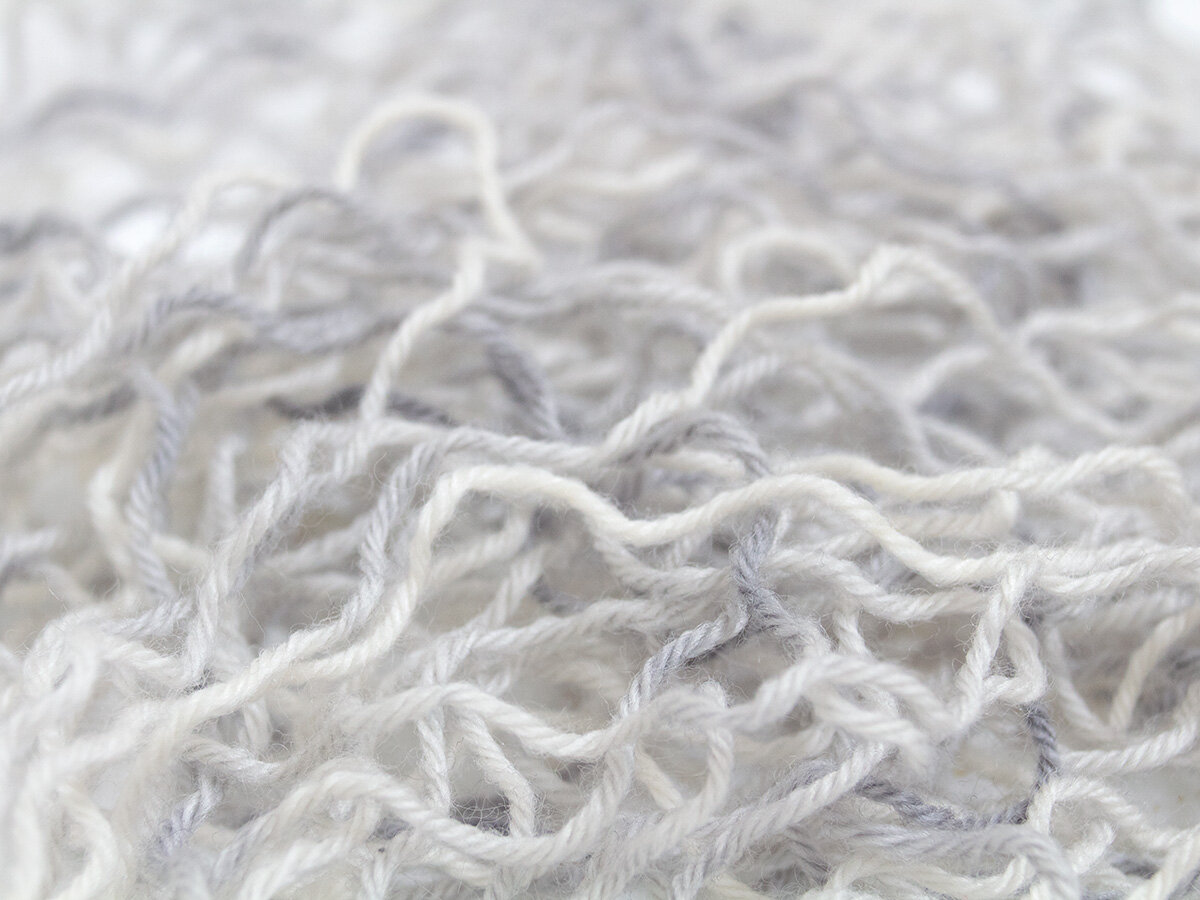
The yarn is Knitcraft & Knittery’s sustainable Australian merino 4ply in Silver Fox.
To add insult to injury, I’ve discovered that the lace pattern was fighting with this lovely colourway, so this third hat has been ripped back to the ribbing. Note to self: this is why it’s best to swatch in the same colourway if possible (duh).
I do really love how the ribbing looks in this yarn, so I’ll complete this hat in plain half-twisted ribbing now that I’ve ripped out the lace. My next (and final, I hope!) sample will be in Knitcraft & Knittery’s Sandilocks colourway, a beautiful almost-solid gold which I know will look amazing with the lace pattern… because that’s what I swatched with. I know, I know…
How to insert an afterthought lifeline
My preferred method for ripping back several rows/rounds is to use an ‘afterthought lifeline’, inserting another circular needle through each stitch of the round you want to start again from. Taking the time to do this before ripping back reduces the chance of losing stitches and spending even more time and trouble retrieving them.
Inserting the new needle is a little easier if you use a smaller needle size than you were working with. Depending on the stitch pattern, it might be tricky to see exactly which stitches belong to the same row/round, in which case I recommend looking at the chart or written instructions for your target row or round, and/or carefully watching the path of the yarn as you go. From there, it’s just like ripping back to a waste-yarn lifeline: remove the top needle and unravel back to the newly-inserted needle, wind the unravelled yarn into a ball and you’re ready to get back to knitting. Just make sure to work the next row/round using the correct needle size, especially if you used a smaller needle to create the lifeline.
I’ve found this design frustrating, but using trial and error does have advantages - it’s invaluable for trying out new shaping or stitch patterns, for example. But I think for my next design I’ll try to keep it contained to the swatching stage!