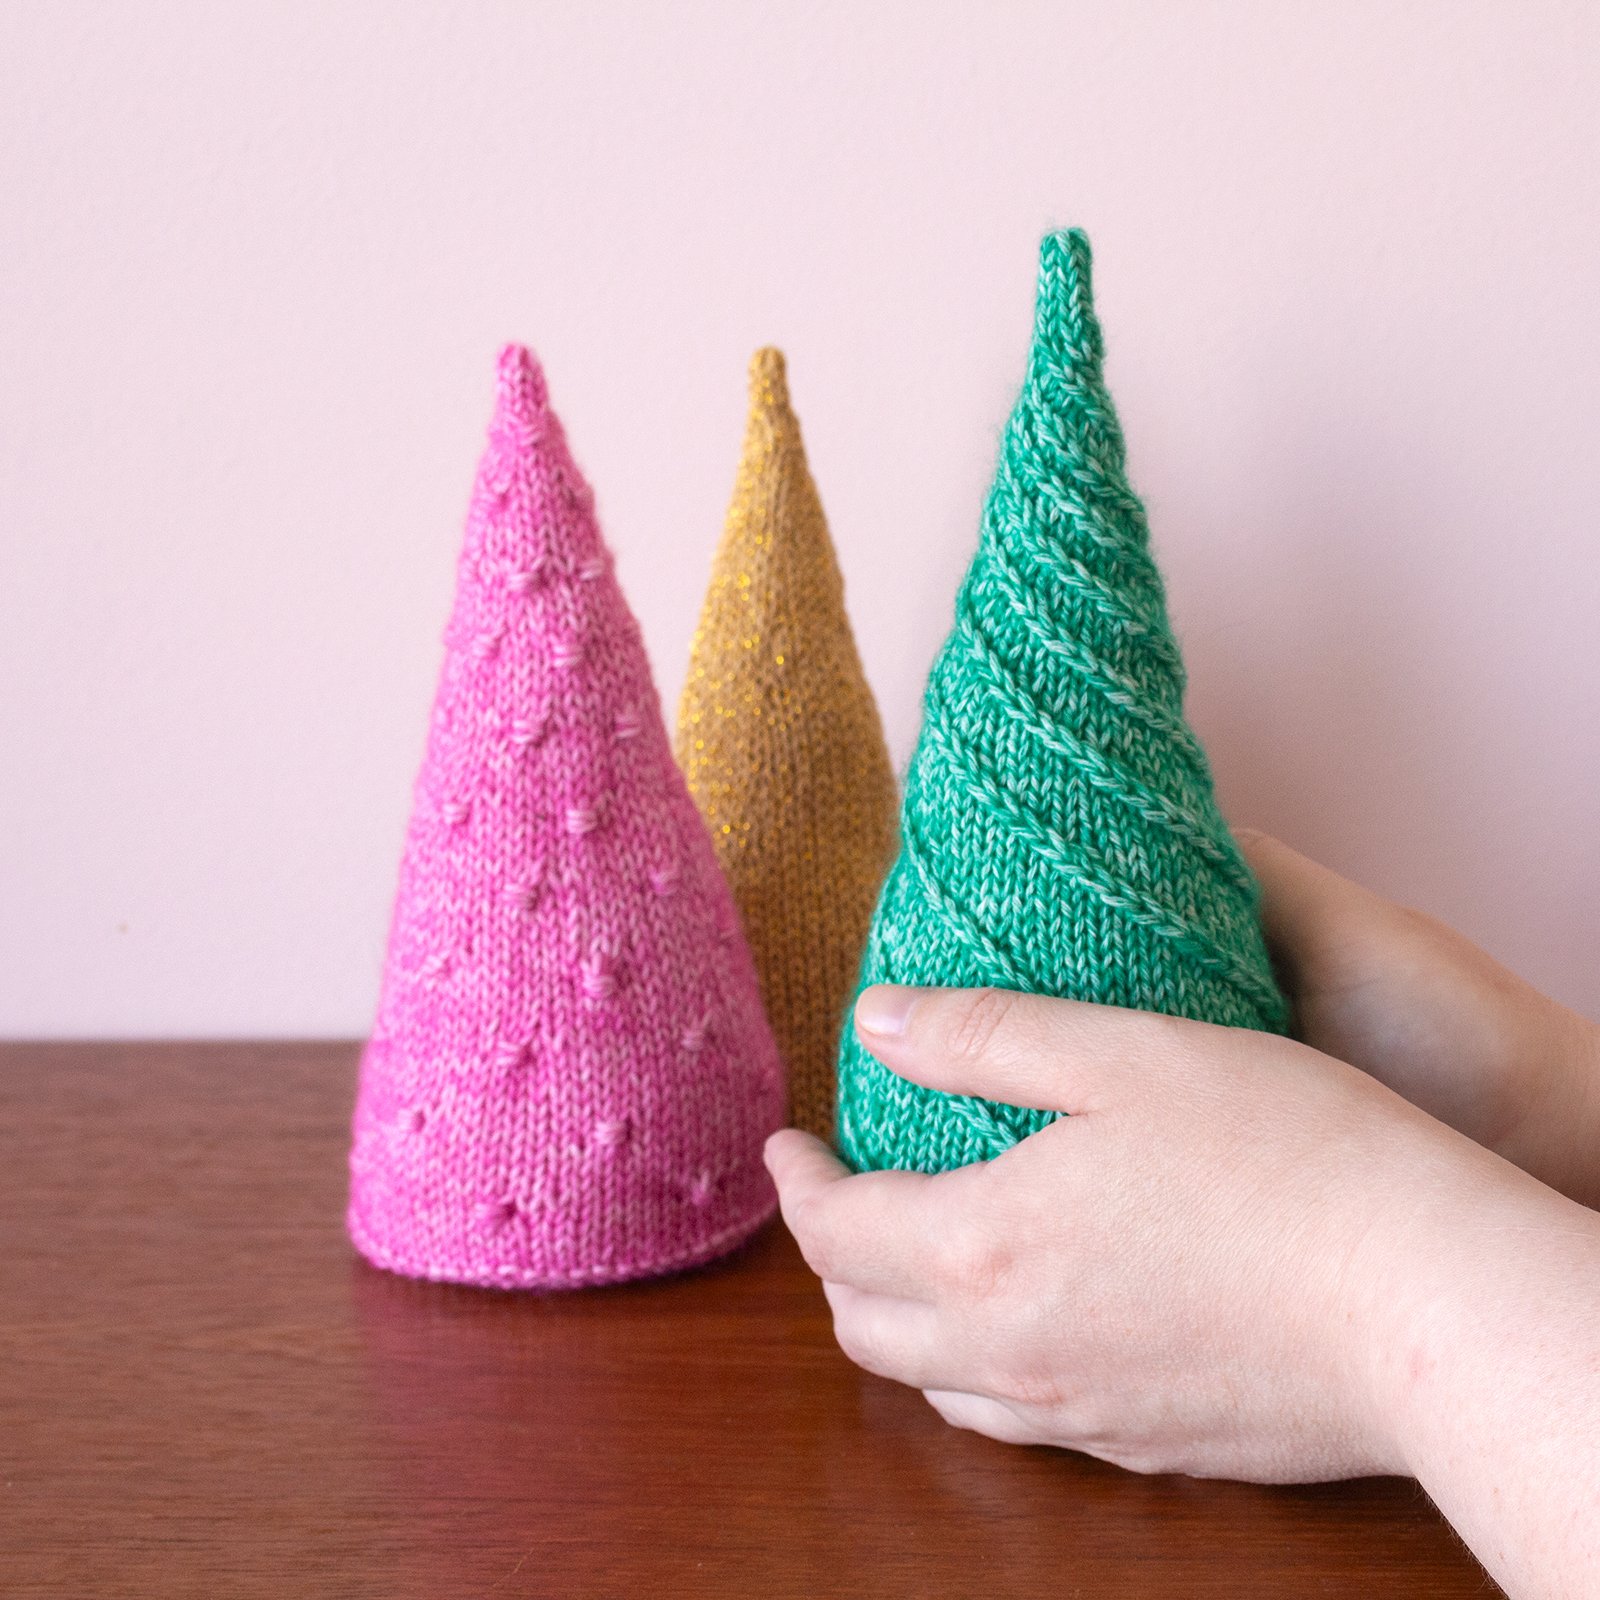
Introducing Candy Cones, a collection of little stuffed ‘trees’ which I designed to brighten up my apartment during the holidays. I've been wary of putting up a proper Christmas tree because my cats like to get into absolutely everything, so I designed these as a safe (and cute!) alternative. With five texture options, you can choose the difficulty level according to what you feel like knitting: stockinette, or mini bobbles, or fiddly travelling cables. And they’re so nice and quick it’s hard to make just one.
Inspiration & design journey
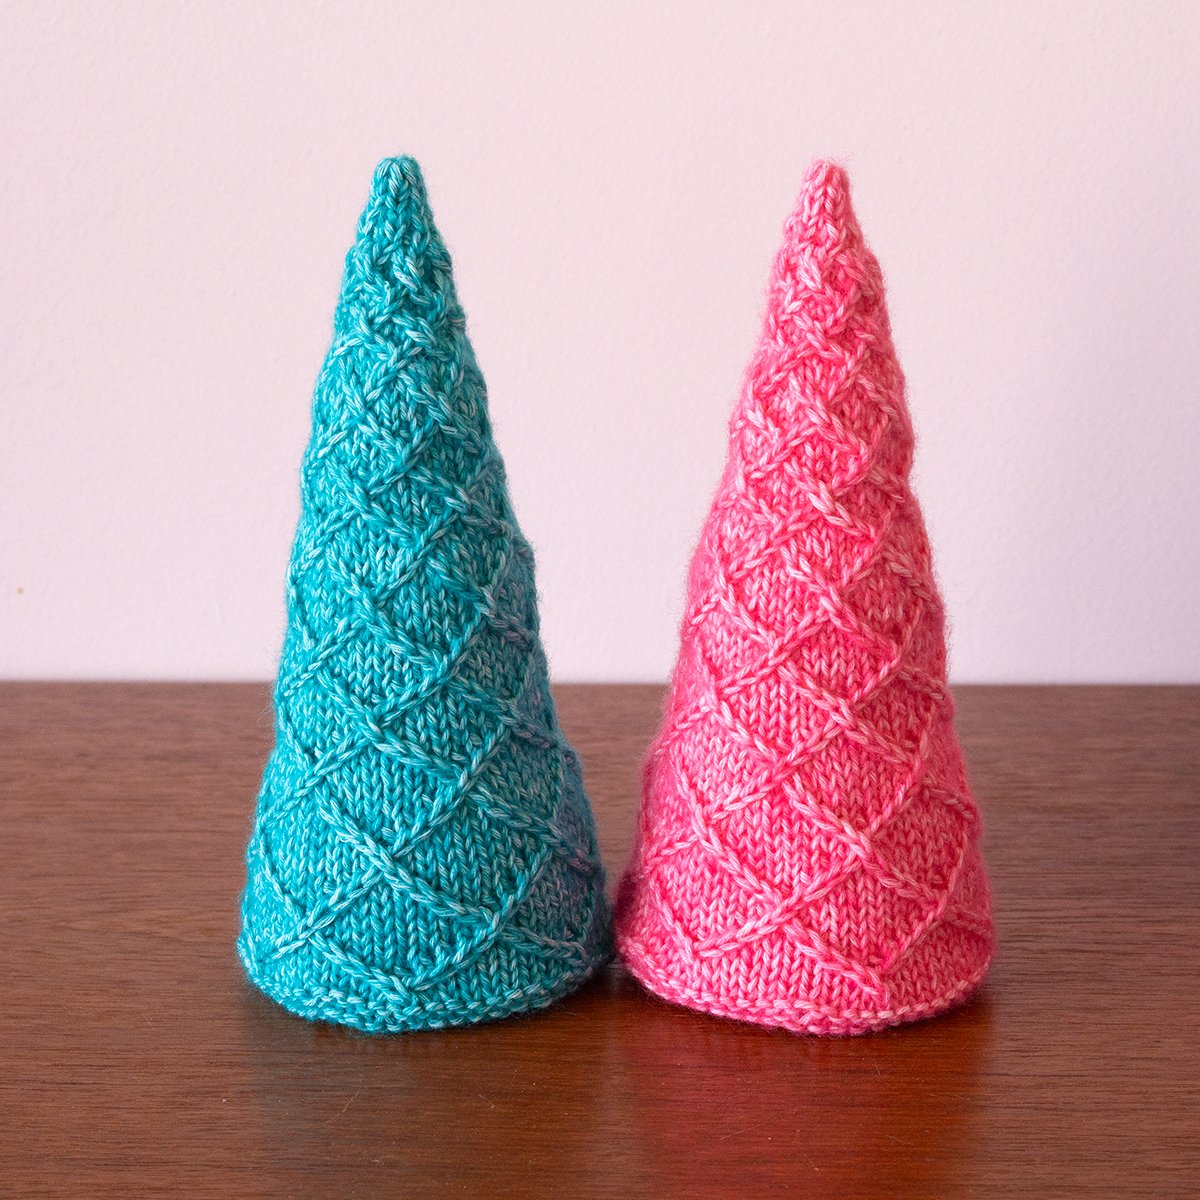
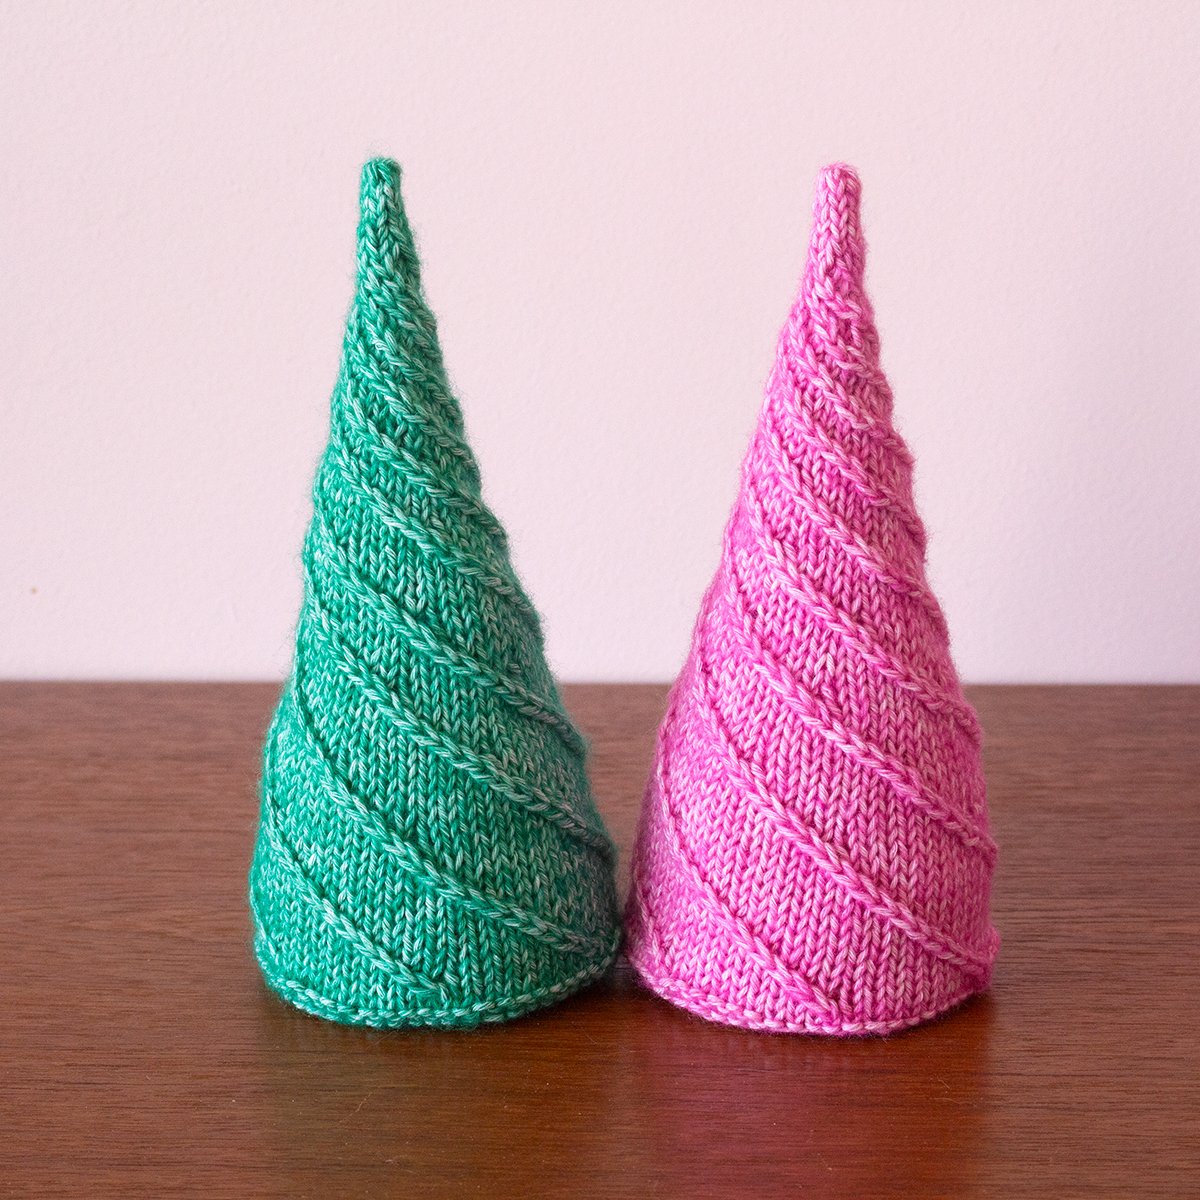
The cable textures for these little cones went through a number of iterations, and taking them from my rectangular swatch to the actual cone shape threw up a few surprises. It turned out that dotting the diamond-trellis and swirl cables with bobbles made for a much too fiddly knitting experience once shaping was brought into the mix, so after some head-scratching I edited out the additional bobbles. I want these little cones to be fun to make as well as to look at, and sometimes making things extra complicated is just not worth it. While the final cable textures are still fiddly, especially in the later rounds, they’re still doable - and those last few rounds are over in a flash!

Yarn requirements
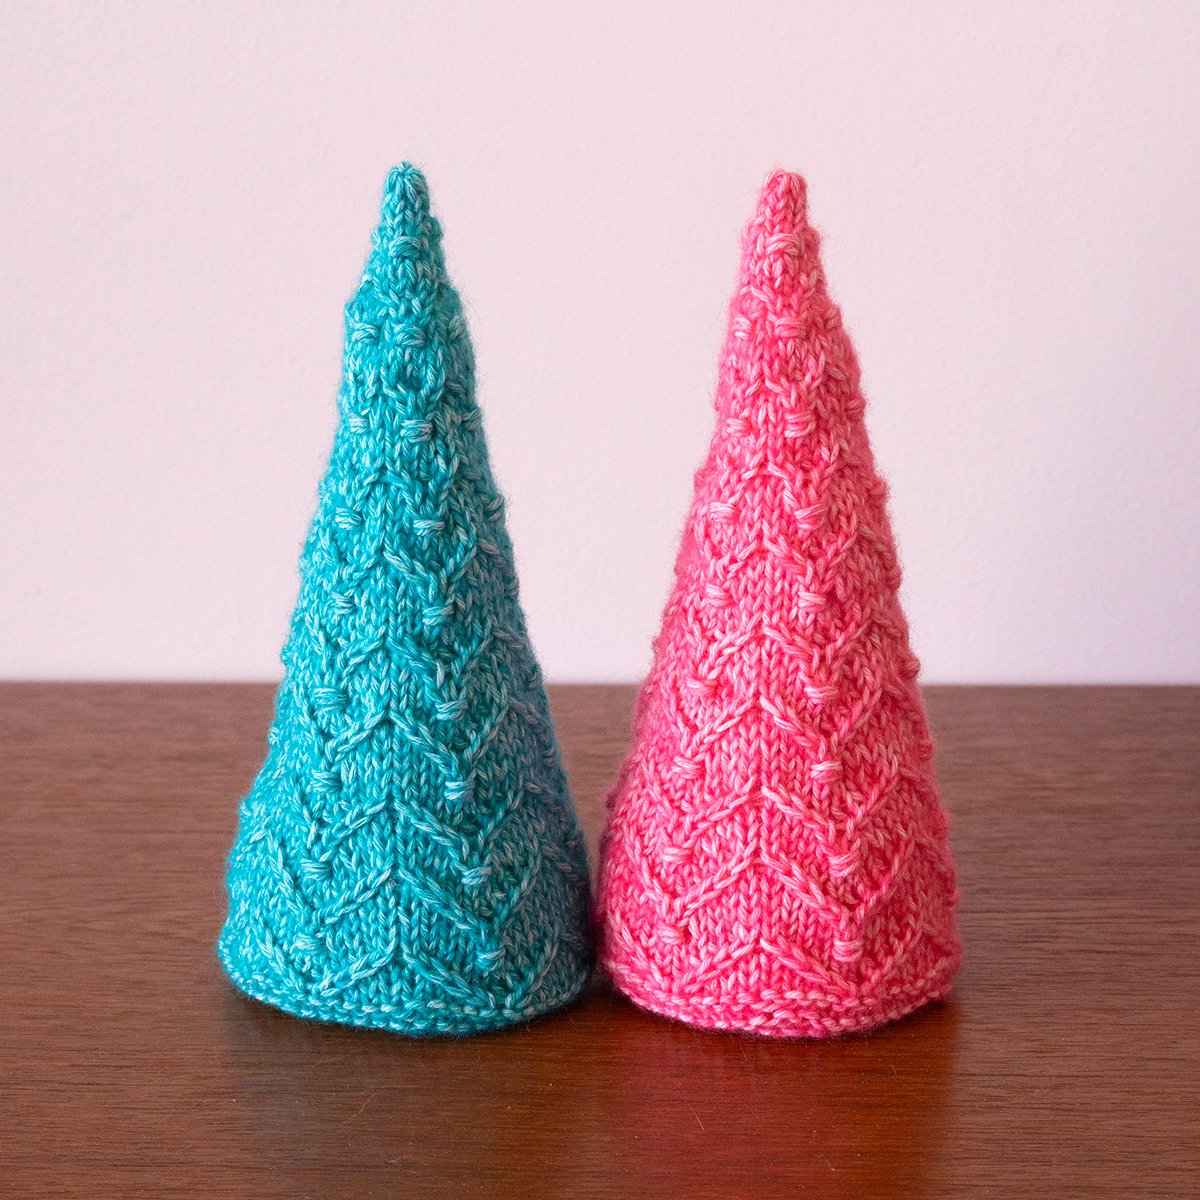
When I was choosing my yarns for this pattern, the most important thing was colour. I wanted clear, cheerful colours in pinks and greens, ideally available in smaller balls or skeins so that I could use a few different shades. I settled on Scheepjes Stone Washed (78% cotton, 22% acrylic; 142yds/130m per 50g ball) in Tourmaline, Rhodochrosite, Turquoise, and Malachite for my cable and bobble textured cones, which has a subtle semi-solid look that shows off the textures well. For my stockinette cones I used Scheepjes Twinkle (75% cotton, 25% polyester; 142yds/130m per 50g ball) in 923, 926, 934, and 941, which has a pretty lurex sparkle that’s tricky to capture on camera.

Special techniques
Each cone begins with a Pinhole Cast On. My favourite tutorial for this method is this illustrated one by Emily Wessel of Tin Can Knits: Pinhole Cast-On.
After working the base in garter stitch, it’s time to pick one of the five texture options and knit the cone. If you haven’t tried knitting mini bobbles before, you might find my tutorial useful: How to work mini-bobbles. And if you’d like to try my favourite method for working the little 1-over-1 cables, I have a tutorial for that too: How to work mini-cables without a cable needle. A few of my clever test knitters added beads to their cones, which is a really cute modification! I’m currently working on a tutorial for a beaded cone as a bonus option, so look out for that in the next few days.
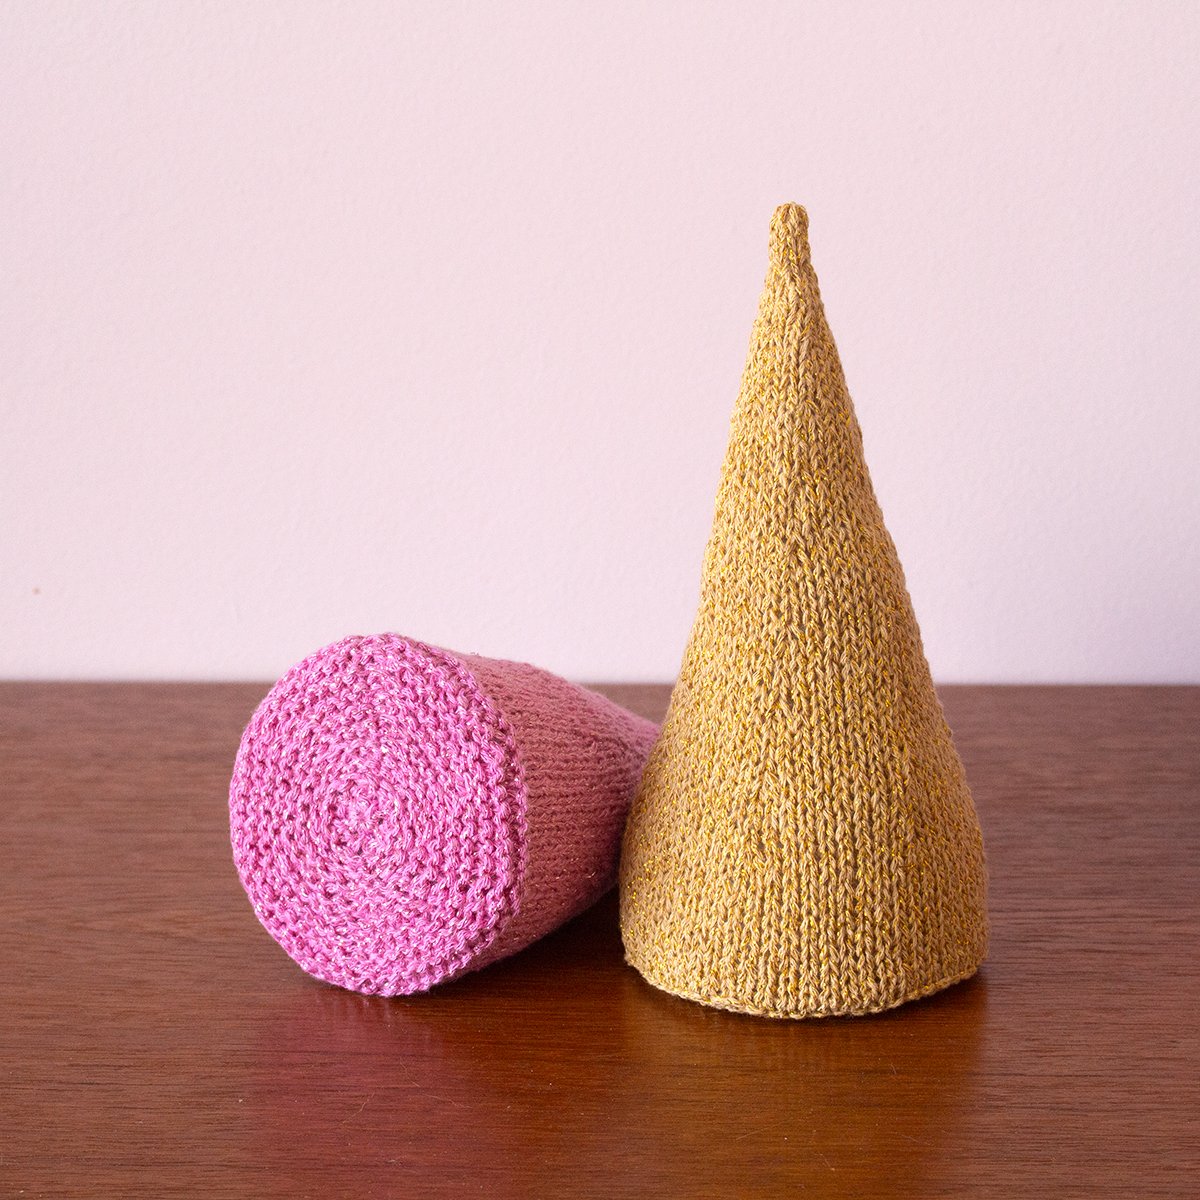
I recommend adding a circle of cardboard or plastic to the base of the cone just before you work the first decrease round, to keep the base nice and flat. You can also add tiny weights on top of the circle if you wish (e.g. poly pellets or pebbles). Begin to add stuffing to the cone when you are about two thirds of the way through the patterned rounds, and then add more just before you work each remaining decrease round. I’ve included the photos below as a visual example of when to stop and stuff.

Candy Cones features:
Stuffed decorative cones (or trees) with five texture options to suit your preference
Each cone requires less than half a 50g ball of sport weight yarn: 47yds/43m (for stockinette cones) or 67yds/61m (for patterned cones)
Shown in Scheepjes Stone Washed (78% cotton, 22% acrylic; 142yds/130m per 50g ball) and Scheepjes Twinkle (75% cotton, 25% polyester; 142yds/130m per 50g ball)
Choose a springy yarn to make the cable and bobble textures easier to knit
Dimensions when stuffed: 3.25”/8.5cm diameter at base, and 7”/18cm tall.

I can confirm that they stand up to cat shenanigans pretty well! One cone even survived a stabbing with a plastic pterodactyl beak at the hands of my four-year-old nephew, which is pretty impressive if you ask me.
Find out more about my Candy Cones pattern, including Ravelry and Payhip purchase options.