Pattern update: The Beeswax Set

My Beeswax Hat, Cowl, and Mitts have been some of my most popular patterns since I first published them nearly a decade ago. My pattern writing has evolved a lot since 2014 when I first published them, and even more since 2018 when I last updated their charts and layout. And because I want them to continue to reflect my best work as a designer, I’ve been working on a big update to polish them up.

The Beeswax Hat, Cowl, and Mitts, a set of knitted accessories with honeycomb cables

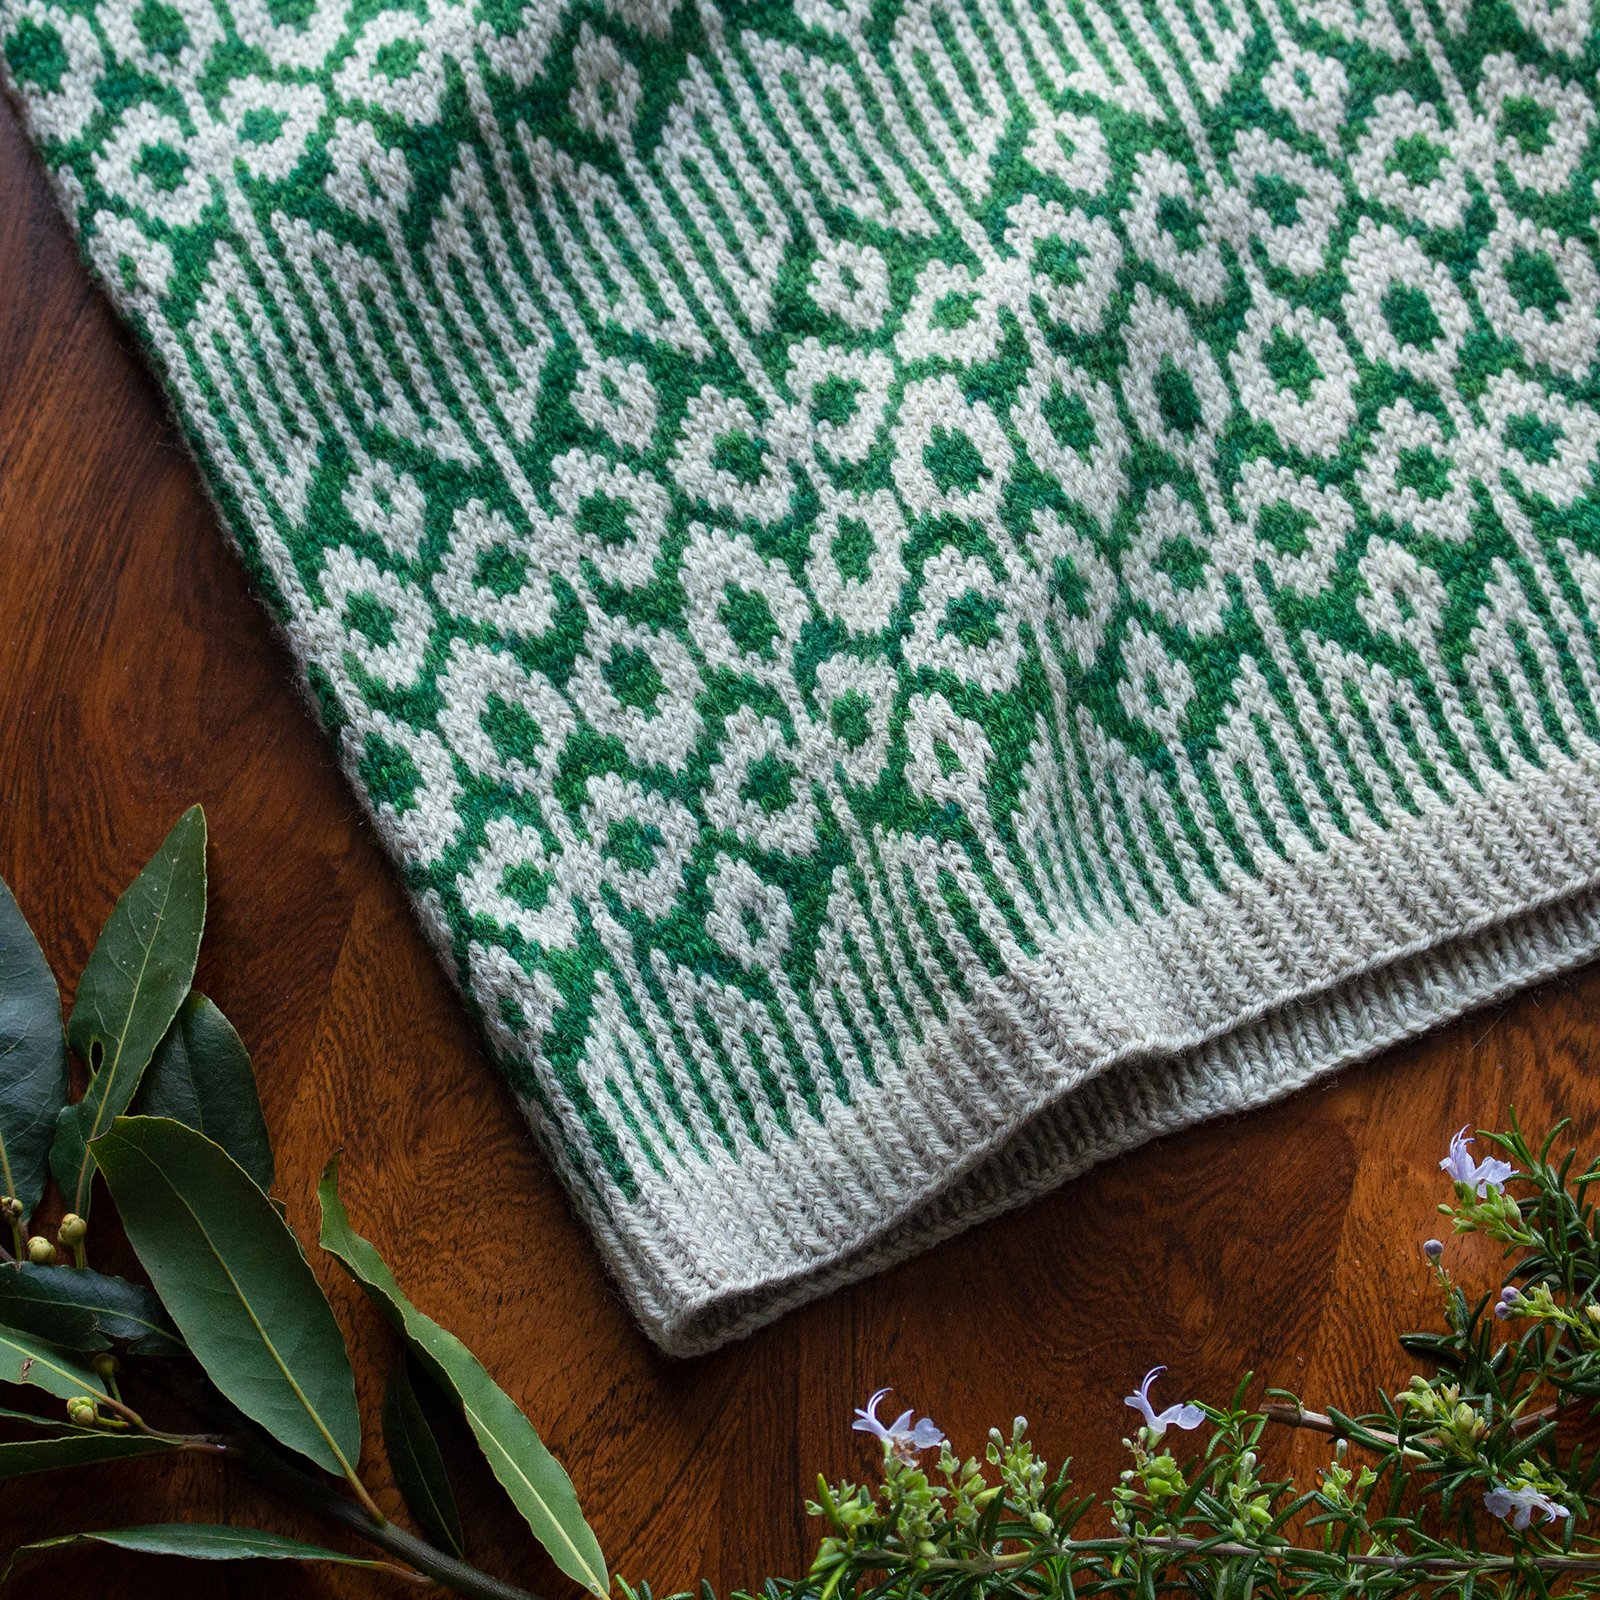
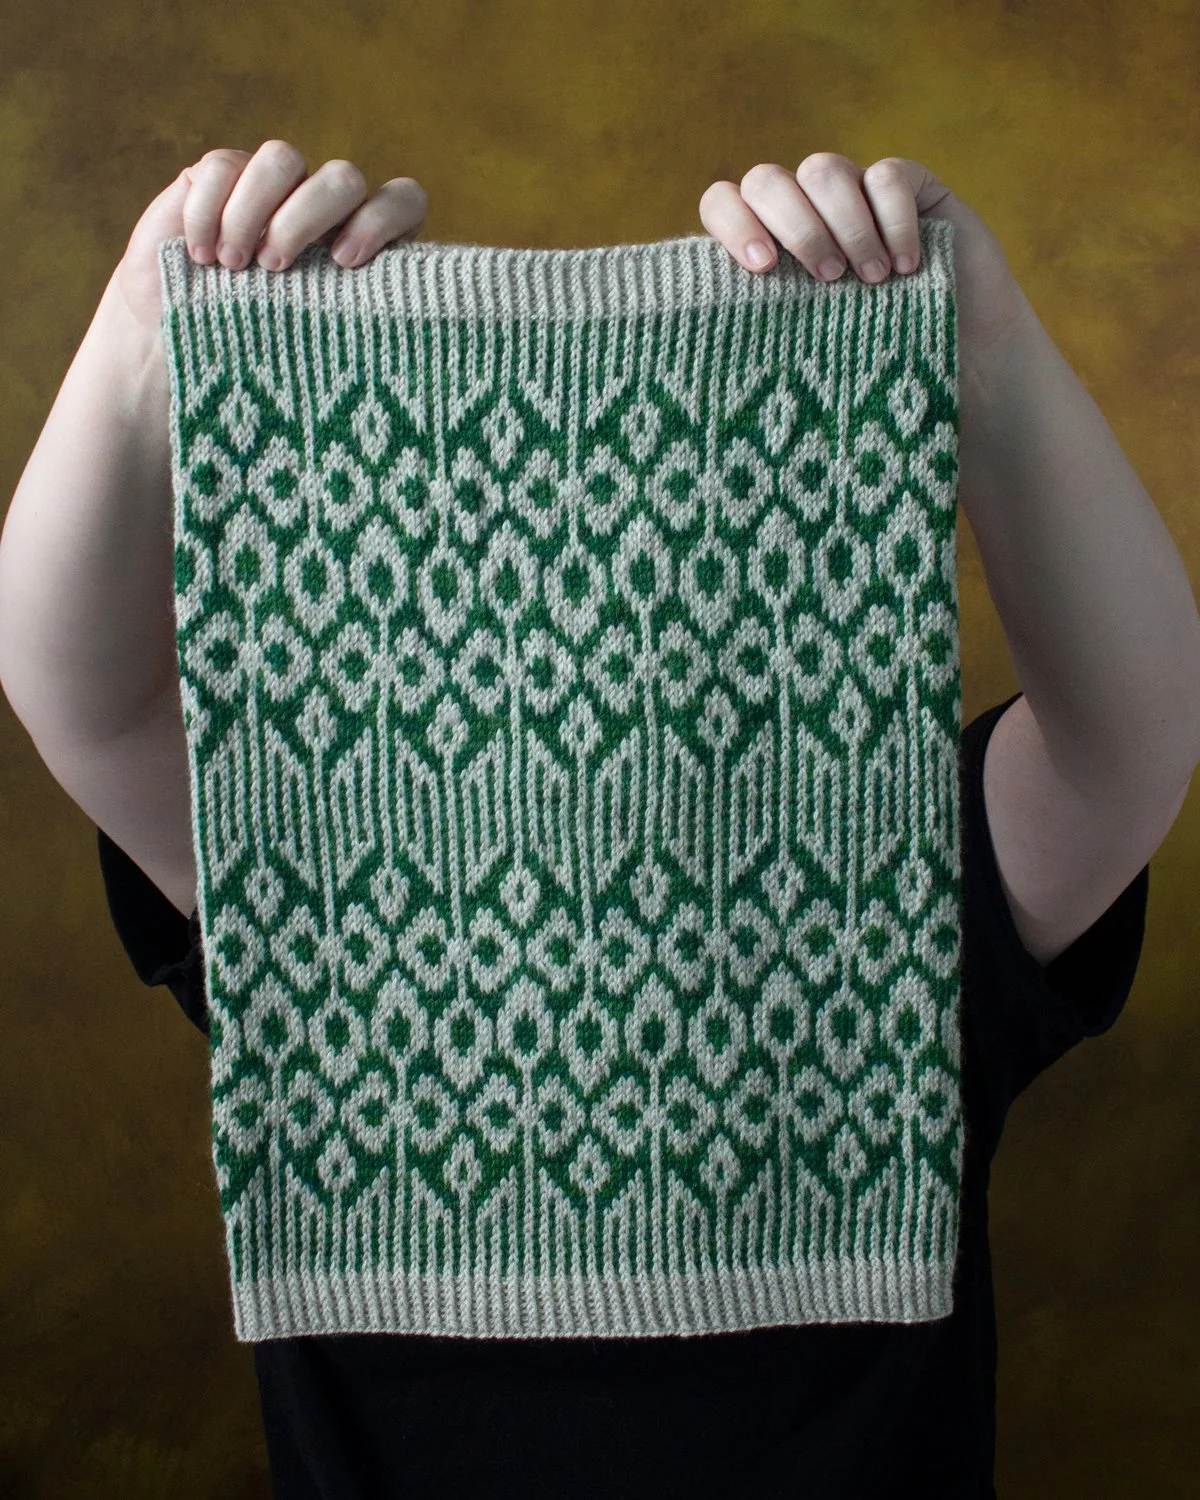
The Beeswax Hat, Cowl, and Mitts knit in Pakihi DK from Ruataniwha Dye Studio.

The changes

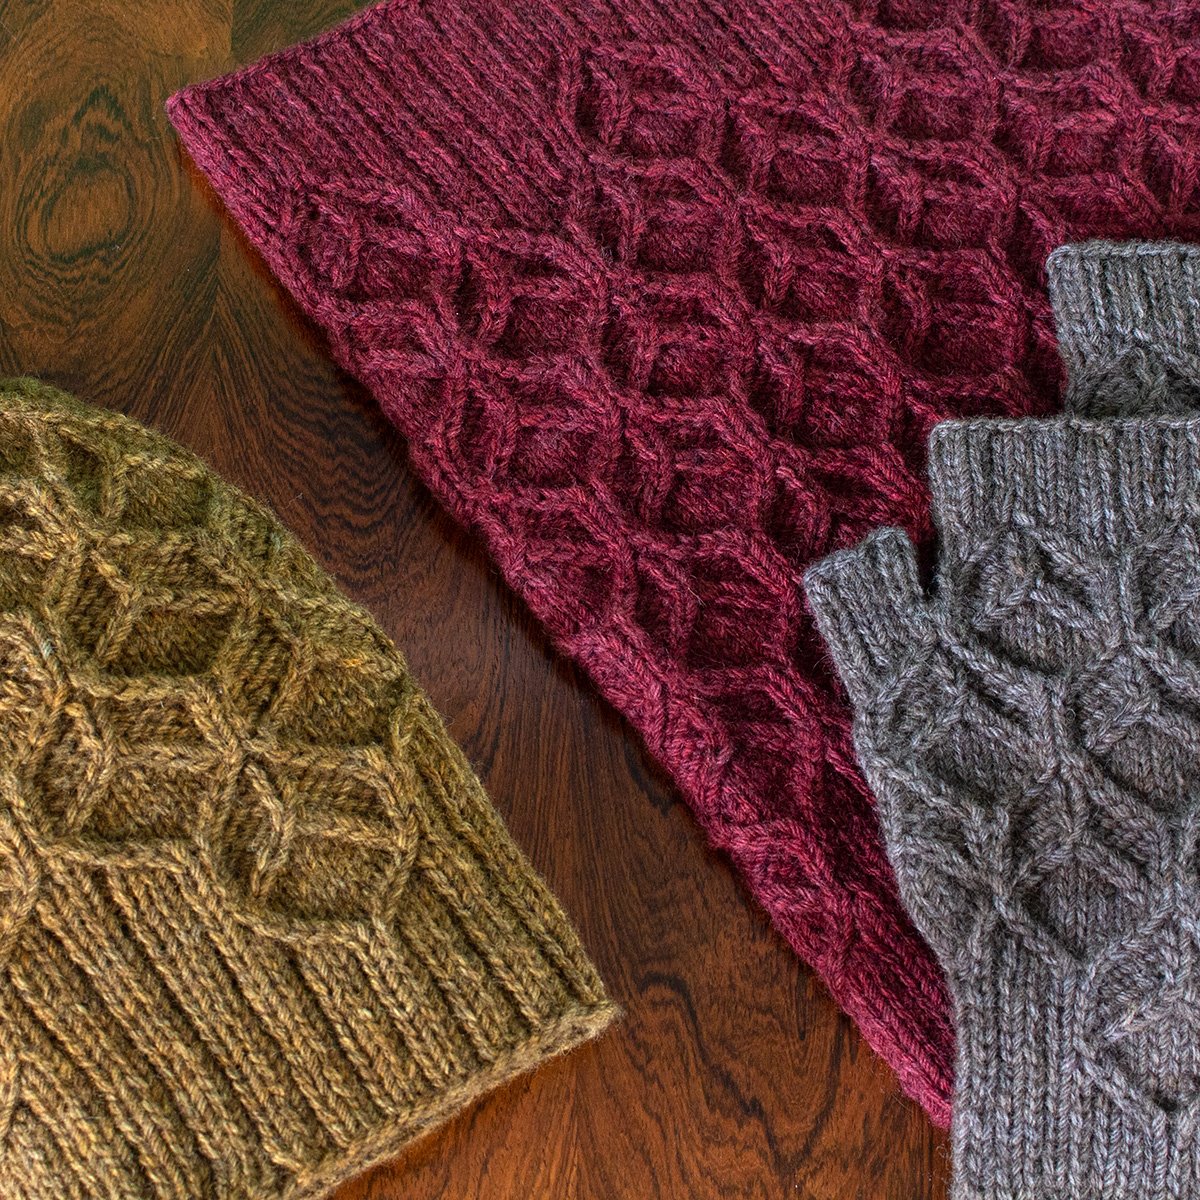
My main intention was to update the ribbing instructions, which I’ve had the occasional question about over the years. But after making that change and looking more closely, I found more and more tweaks I wanted to make. One of the new changes I’ve made is updating the cables to include purl stitches, where they originally included only knit stitches for the sake of simplicity. I decided the slightly more polished look of the purl cables was worth making the switch. It doesn’t make a huge difference to the appearance of the cables, but I personally find it more satisfying!

Additional changes include a new smaller size for the Beeswax Hat (for kids!), a taller option for the Beeswax Cowl, a larger gauge option for the Beeswax Mitts, stitch counts added throughout to reflect the variable stitch pattern repeat, new schematics, and additional small tweaks to bring the patterns in line with my current style.

The Beeswax Hat and Beeswax Cowl, showing off the honeycomb cable pattern and crown decreases

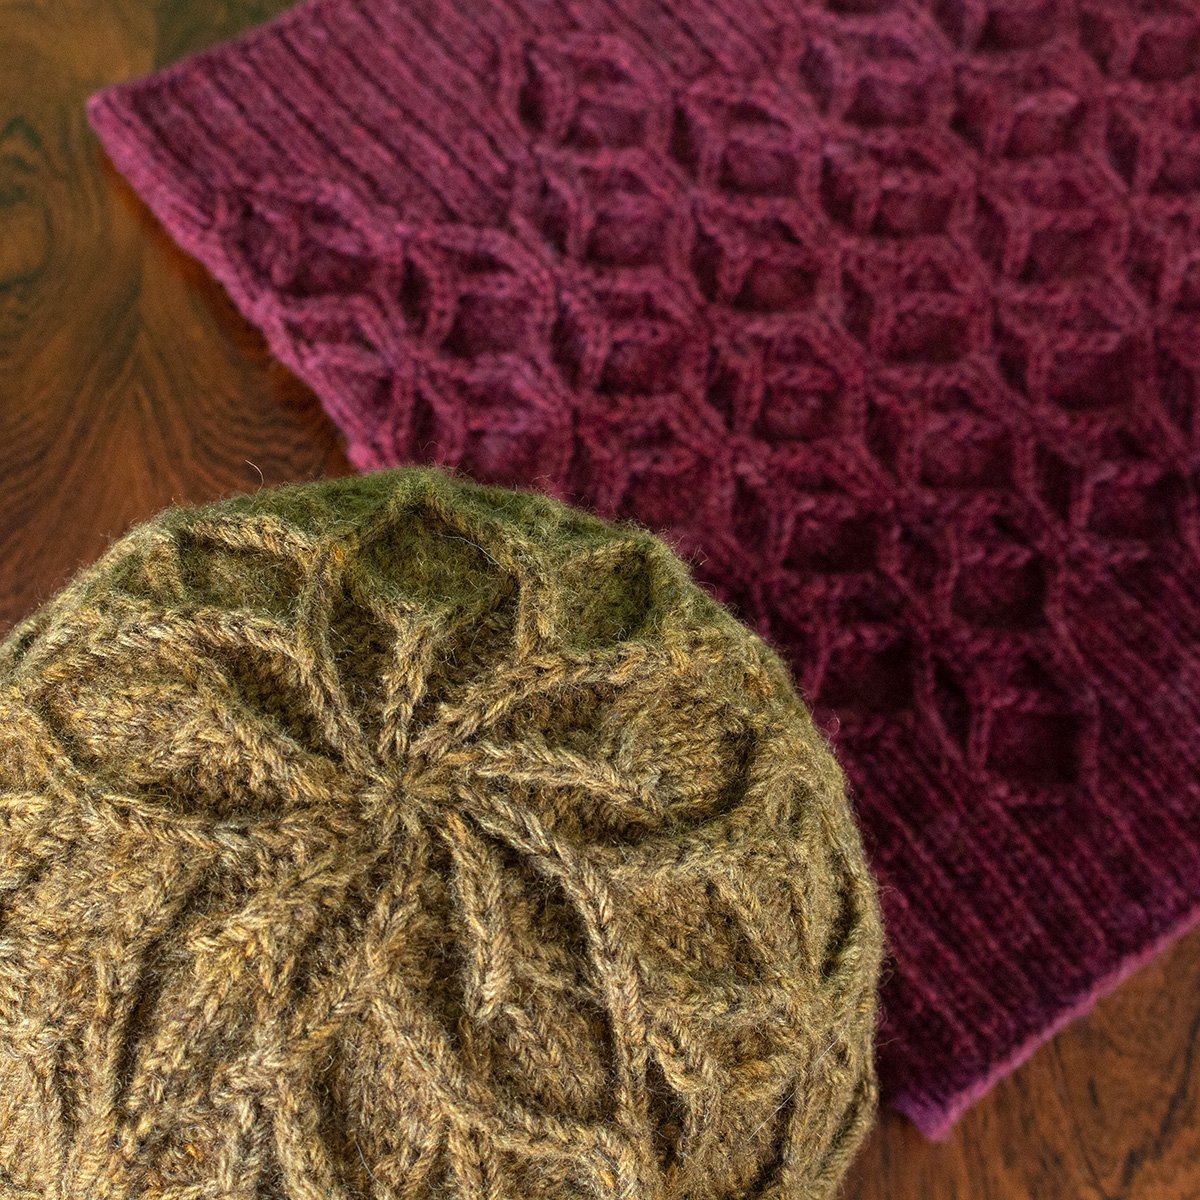
I blocked this Beeswax Hat over a balloon to show off the pretty crown decreases. The Beeswax Cowl in the background is the new taller size.

New samples

As part of this process I knit up some new samples to show off the new sizes. As a designer I find knitting my way through a pattern super helpful, because I can refine it as I go and catch any errors. For most of the new samples I used Pakihi DK from Ruataniwha Dye Studio, a woollen-spun blend of NZ polwarth and arapawa wool. The cables are beautifully crisp in this yarn! And for the smaller Beeswax Hat, I used Possmerino DK from Trichromat Yarns, which has a lovely soft halo and luxurious softness.

A child size Beeswax Hat with honeycomb cable pattern

The new smaller Beeswax Hat, knit in Possmerino DK from Trichromat Yarns.

Finally, I had the updated patterns professionally tech edited to make sure they’re as clear and error-free as possible. I hope you love the refreshed patterns, which are now available on Ravelry and Payhip.

New patterns: Herb Garden Hat & Cowl

I’m continuing my obsession with botanical shapes in knitting with a colourwork hat and cowl duo, featuring lush leaves framed by delicate linework. The Herb Garden Hat and Herb Garden Cowl are named for the sensory delight of a garden overflowing with herbs, humming with bees, and bursting with culinary possibilities. I have a little pot of herbs on my balcony which provides rosemary for roast potatoes, thyme for sauces and pizzas, and flowers for visiting bees. I’m planning to add some basil and mint to my collection this summer!

Inspiration & design journey

Like my Cat’s Eye Cowl, this design started off with me messing around with geometric patterns, shuffling elements around and rounding the shapes until I had something satisfying-looking. I noticed it had a leafy feel to it, and I tried to bring that out further as I kept playing around. Once I was happy with the leaf elements, I added geometric lines to frame them and bring the ribbing into the design. This framing also has the benefit of reducing the need for long colourwork floats while knitting.

While I was working on the hat, I took a couple of attempts (as usual) to get the crown decreases right. I wanted them to look nicely balanced with the ring of colourwork leaves while giving me the fit I wanted - not too slouchy, and not too close-fitting. I used a lifeline while knitting my second sample so I could make any final tweaks to the design without ripping back further than I needed to. It’s definitely possible to rip back without using a lifeline, but colourwork makes it tricky!

In this one I’m doing my best to look like a Dutch painting.

Yarn requirements

I knit each of my samples using 2 skeins of Vintage Purls Superstar, a blend of 70% New Zealand polwarth, 20% tussah silk, and 10% black New Zealand merino at 415yds/380m per 100g skein. I chose the undyed ‘Natural Talent’ shade for the contrast colour for both hat and cowl, and the main colour ‘Zosma’ for the hat and ‘Carina’ for the cowl. The new Vintage Purls Tannahill yarn would also be ideal for these designs, as it’s a woollen-spun merino especially recommended for colourwork.

Special techniques

The Alternate Cable Cast On suggested in the patterns gives a nice tidy edge, but feel free to use your favourite cast on for 1x1 ribbing. The Long Tail Cast On and Tubular Cast On would also look great. Both patterns include a few of my favourite tips for knitting beautiful colourwork, including on colour dominance, swatching, and managing tension.

Sasha wanted to be involved in the photoshoot - who could say no to that face?

Herb Garden Hat features:

  • A beanie-style hat featuring an all-over stranded colourwork pattern of foliage and geometric linework

  • Three sizes are included, to fit 20 (22, 24)” / 51 (56, 61) head circumference

  • Requires 75-94yds / 69-86m (MC) and 99-145yds / 91-133m (CC) in fingering-weight yarn (shown in Vintage Purls Superstar 4ply)

  • Choose a wool or wool-blend yarn suitable for colourwork, in colours with sufficient contrast

  • Hat dimensions, relaxed after blocking and unstretched: 16 (18, 20)” / 40.5 (46, 51)cm brim circumference, and 8.25 (8.75, 9.25)” / 21 (22.5, 23.5)cm length from cast-on to crown. Sample shown in medium size on my 22” / 56cm head.

Herb Garden Cowl features:

  • A cowl knit in the round featuring an all-over stranded colourwork pattern of foliage and geometric linework

  • Two height options are included, and the circumference is easily adjustable to your preference

  • Requires 136 (256)yds / 124.5 (234)m (MC) and 212 (335)yds / 194 (306.5)m (CC) in fingering-weight yarn (shown in Vintage Purls Superstar 4ply)

  • Choose a wool or wool-blend yarn suitable for colourwork, in colours with sufficient contrast

  • Cowl dimensions, relaxed after blocking and unstretched: 24” / 61cm circumference, and 9.75 (16.25)” / 25 (41.5)cm height from cast-on to bind-off. Sample shown in taller 16.25” / 41.5cm height.

Find out more about my Herb Garden Hat and Herb Garden Cowl patterns, including Ravelry and Payhip purchase options.

How I block my hats

If you want your newly-knitted hat to look its best, I really recommend taking the time to finish your hat by blocking it, especially if you’ve used lace stitches or colourwork. You’ll be able to tidy up uneven stitches (at least to a certain degree) and open up a lace or mosaic pattern.

Read More

New pattern: Heartwood Hat

It’s one year to the day since I released my Heartwood Cowl design, and at long last it has its companion hat! Introducing the Heartwood Hat, a cosy, deeply-textured beanie in DK-weight yarn featuring an all-over pattern of cabled hearts entwined with ribbing.

I actually started working on the hat design long before the cowl, but got bogged down in puzzling out the crown decreases. After a lot of unsuccessful swatching I put the hat to one side and concentrated on the cowl, and just before that pattern was ready to publish I was struck by a new idea for the hat! Sometimes sleeping on a puzzle takes rather a lot of sleeps before the brain spits out a solution. And here it is: some ribbing, a few twists, and some petal shapes in between.

The Heartwood Hat sample blocking over a balloon.

A tip from my fabulous test knitter Myriam (strickeyhands on Ravelry): if you find your stitches look a little sloppy in the crown decreases section, switch back to your smaller needles.

The yarn I used for the sample is once again from the fabulous Aussie dyer Happy Hank Co. To knit the larger size I used one 100g skein of Classy DK, but you could also use fingering-weight yarn held double, as one of my test knitters did to great effect. Classy DK is a smooth, multi-plied, superwash merino yarn, and the colour, Soba, is a very gentle pale pink. To really show off the complex cables I recommend choosing a solid or near-solid colourway, or some subtle speckles.

Two sizes are included in the pattern, and the larger size is comfortable and slightly slouchy on my 22”/56cm diameter head. It’s long enough to wear with the brim pulled down for cosiness or with a short turn-up.

Skills needed to work this pattern include the Long Tail Cast On (or your favourite for 2x2 ribbing), working in the round, working 2-over-2 cables and a few six-stitch cables, and working decreases. Both charts and full written instructions are included.

Heartwood Hat features:

  • a beanie hat knit in the round from the bottom up, with an all-over texture of cabled hearts and ribbing

  • two size options are included in the pattern, each using only a single 100g skein

  • requires 167 (200)yds/153 (183)m of DK-weight yarn (shown in Happy Hank Co Classy DK)

  • choose a smooth, multi-plied, worsted-spun yarn in a solid or near-solid colour

  • hat dimensions, relaxed after blocking and unstretched: 15 (18)”/38 (46)cm brim circumference, and 8.5”/21.5cm length from cast-on to crown, to fit 18-20 (21–23)”/46-51 (53.5-58.5)cm head circumference. Sample shown in larger size on my 22”/56cm head

  • charts and written instructions are both provided in full.

Find out more about my Heartwood Hat pattern, including Ravelry and Payhip purchase options.

How to work twisted decreases

The lace stitches used in my Beanstalk Hat and Ensata Hat are mostly familiar ones: yarn-overs, k2tog and ssk, and knitting through the back loop (k-tbl) for added texture. But when you get to the crown of the hat, twisted decreases are thrown into the mix. You’ll find the motions familiar when working the twisted versions of k2tog, ssk, and k3tog - the big difference is that the stitch which ends up on top needs to be re-oriented so that it will twist the same way as a k-tbl stitch.

Read More