Swatching in the round

Swatching in the round is something I know I should do if my project will be knit in the round, but I admit I sometimes swatch flat instead, especially if the stitch pattern is easy to work flat (like stockinette or a knit/purl texture). But for an important project like a garment or something else that will take a lot of yarn and time, there's no way around it - swatching in the round will give you the most accurate gauge information.

In this post I'll be showing you how I knit the swatch for my Cinnamon Stars cowl. The method will work for any stranded colourwork project, and for any other project knit in the round.

Read More

Up for a crafting challenge?

Like any popular website with a big social element, Ravelry has its own traditions and special events. One of my favourites is Ravelry’s Ravellenic Games, held every two years to coincide with the winter or summer Olympics.

Ravellenics participants choose one or more projects that will be a personal challenge, and try to finish before the closing ceremony. The next Games are coming up in a few weeks beginning on the 5th of August, so if this sounds like fun you still have time to pick your projects. Joining a team is optional, but definitely adds to the fun in my opinion!

Last time around I crocheted a great big rainbow blanket (link to Ravelry project page):

I'm still super proud of it, and it's fantastic to have a real wool lap blanket in the lounge when it gets cold.

This time, I'm going to go big again and knit a Blank Canvas sweater (Ravelry link). It's DK-weight, with 3/4 sleeves, and using a pattern I've knit before, so it shouldn't be impossible to finish in two-and-a-bit weeks (I hope). But it will still be a stretch for me, since I usually take ages to finish a garment. My plan is to halt all design-related knitting during the Games and concentrate on making myself a new comfy jersey. :)

Swatching ahead of time is encouraged (by analogy to 'training' for an event), so I've begun my quest to get my gauge correct. This is my first swatch in Madelinetosh Longrider DK, which I need to undo and knit again on smaller needles:

Wish me luck!

Waiting for yarn to dry...

My honeycomb cardie (Iðunn) is neeeearly finished! The sleeves are done and I've woven in the ends, but then I had to wash it before the steeking stage.
And now I have to wait for it to dry. :p

My cardie, slowly drying after its bath. Curse you, winter.

'Steeking' is the process of cutting up the centre of a jersey to turn it into a cardigan - apparently it's perfectly safe if you 'secure' the surrounding stitches first by sewing or crocheting through them. Because I'm using a fuzzy, feltable wool, crochet will do the trick.

This video tutorial by the designer Ragga shows how it's done:


A couple of before-steeking shots (it fits!):


In the meantime I've started on the next project, which will be Ysolda's Blank Canvas jersey. As per the name, it's a very plain-and-basic style of jersey which should be extremely useful. I've chosen a nice soft dark brown cashmere from Colourmart, which has (very affordable) yarn in all sorts of fibres and blends. My swatch has come out at the correct gauge, and Mum has measured the relevant bits of my torso, so I'm good to go. :)

Winding my Blank Canvas yarn...

Experimenting with hemp

After all my plotting and planning for some suitably summery knitting, I ordered some hemp and cotton yarn from South Seas Knitting. It has now arrived in my hot little hands, mwahahahaaa...

Hemp for Knitting Allhemp3 (4ply) and Allhemp6 (8ply)

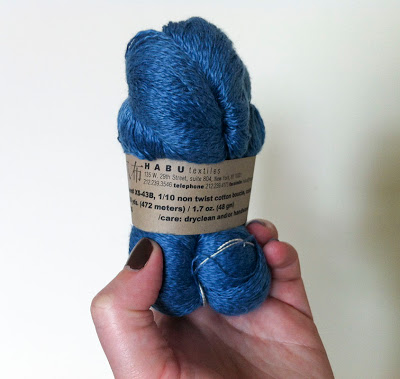
Habu Textiles Non Twist Cotton Boucle (2ply)
 
I have a cunning plan for the Habu cotton, but as I've used cotton yarn before on occasion, I was more excited about trying out the hemp!

I have it on good authority (thanks Mum) that hemp yarn softens up a lot after washing and wear, so I wasn't alarmed by the stiff rope-like texture of the Allhemp yarns. I gave the skeins a wash and let them dry, so that the yarn would be a bit softer and more pleasant to knit with. A word to the wise: unless you're washing a skein of yarn very gently, do tie some extra bits of scrap yarn around the skein to keep it tidy. I didn't bother, and the vigorous washing resulted in some pretty stubborn spaghetti monsters...

Now ready to get knitting, I got out my stitch dictionaries and played around with a few open, lacy stitch patterns. Two skeins of the 4ply hemp are going to become a scarf or shawl for Willie, so I tried striping some of the stitch patterns to see what happened.

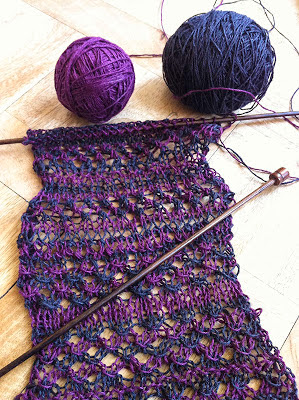
The colours are 'Aubergine' and 'Chocolate' - an unlikely combo!

I like this 'knotted openwork' stitch with the two colours in play.

We'll need to do some more sketching and thinking, but narrowing down the stitch pattern choices is a good start. :)

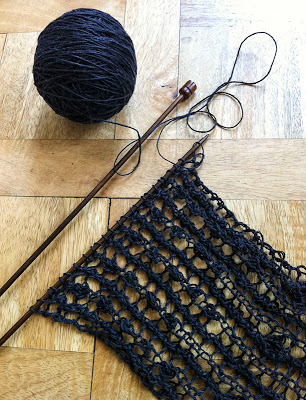
The other 4ply skein of hemp will become a hair-tamer for me. I've been trying to come up with a stitch that looks like the black, bobbly seaweed that's common on New Zealand beaches. The colour of the yarn ('Licorice') reminded me of it, and it's a nice summery image. I'm having trouble getting the bobbly bits right, but I think I'm getting there. I still have a few permutations to work through, and I'll probably reduce the width too.


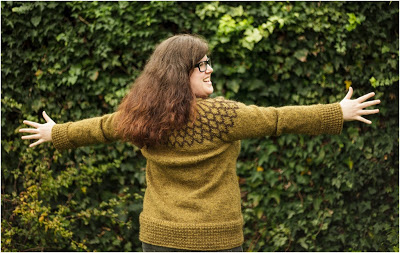
The 8ply hemp yarn, on the other hand, has already become a hat! It's nice and slouchy and airy, just what I was going for. It's also nice and simple. :)

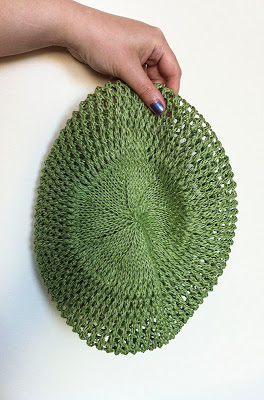
A hat, not a mutant green jellyfish (honest)...

Yarn-winding made easy

I often buy yarn in skeins rather than balls, and then need to wind the yarn into balls before I can knit or crochet with it. The best method I've found uses a 'nostepinne', which is a tapered stick with a groove at one end. Winding yarn this way is easier on my hands than just winding free-hand, because a wooden handle is easier to grip than an ever-growing ball of yarn. The nostepinne method is also great because you get a centre-pull ball - I find knitting with the inside-end less chaotic because the ball stays where you put it and doesn't roll around. You can also knit from both ends of the ball if you want to hold the yarn double.

Dad and I made this video which shows how I do it:


First, lay your skein of yarn around a chair-back or a helper's outstretched hands. Then attach the end of your yarn to the nostepinne by winding it around the groove a few times, and then start winding your ball around the middle. It goes quickly once you get used to it! When all the yarn has been wound, secure the end by tucking it under a few wraps on the ball. Pull the ball off the nostepinne (this is where the tapered shape comes in handy), and fish out the end from the centre (i.e. the end that was wrapped around the groove). Your yarn is now ready to go!